Carving out some fun
Published 8:22 pm Wednesday, October 20, 2010
These helpful hints will make sure your holiday pumpkin comes out a fright
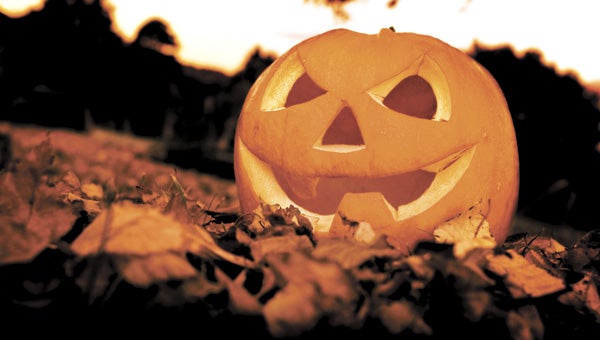
Carving pumpkins for Halloween has been a tradition almost since the holiday itself evolved from old Celtic traditions. Whether you make it a welcome sight or a horrible fright for trick-or-treaters, the process is the same.
Step 1: Choose your design
Before buying a pumpkin, you’ll need to know what design you plan on carving. If your design is tall or wide, look for a pumpkin that features the same shape and is large enough for your design. Many kits sold in stores, as well as Internet sites, offer a variety of patterns that allow even the artistically challenged to create a perfect jack-o-lantern.
Step 2: Choose your pumpkin
When you’re at the farmers’ market or pumpkin patch, look for pumpkins that have a consistent orange color and are free of bruises, cuts and rough patches. It should be as smooth as possible, without scratches, dents or gouges. No pumpkin will be perfect, but look for one where at least half the pumpkin will be a good carving surface. Never carry a pumpkin by the stem — it may break.
Step 3: Set up your work space
Before starting the dirty work, you’ll want to gather a variety of sharp knives and a large spoon or ice-cream scoop. Lay out some newspaper (but not this page!) on your work surface for easy cleanup. Above all, make sure the children watch from a distance when you’re handling knives — let them be more involved in laying out newspaper, scooping out the seeds and choosing the pattern.
Step 4: Cut your lid and scoop the seeds
With a long, thin-bladed knife, cut out the top of the pumpkin around the stem. The hole should be large enough to allow you to scoop out the guts by hand and with a large spoon. Cutting a five- or six-sided opening will work the best, and make sure to angle the knife toward the stem while cutting so that your lid won’t fall into the hole.
Once the hole is cut, let the children get their hands messy by scooping out the seeds and membrane inside the pumpkin. Use a spoon to scrape the inside walls clean and scrape the bottom flat for the candle.
Step 5: Carve your design
After choosing the best side for the design, mark your design with a crayon or pencil. If you’re using a store-bought kit, it likely came with a wheel to trace the design that punches small holes in the pumpkin to use as a guide.
While cutting, make sure to use care so you don’t harm yourself or the pumpkin. Once you’re finished, carefully push the pieces out from the inside to view the final results.
Step 6: Light your jack-o-lantern
Candles have been the longtime favorite method of lighting pumpkins. If you use a real candle, a plain white one works best. Make sure it is sitting flat on the bottom and that you don’t leave it unattended. Never use a real candle for an artificial pumpkin.
If you don’t want a real flame, a number of options are available. Glow sticks can produce an eerie effect, especially when using different colors. However, you’ll want to place your pumpkin in a dark area so the light is more easily seen.
In addition, a variety of pumpkin lights now are on the market. The devices operate on AAA batteries and can produce a variety of rotating colors or flicker like a real candle.
Jack-o-lantern tips
• Toothpicks can be used to make minor repairs or aid in creating elaborate designs.
• Always keep a fire extinguisher handy.
• Never allow children to play with the candle or leave them unattended with a candle.
• Extend the lifespan of your carved pumpkin by coating all cut surfaces with petroleum jelly. Sometimes, soaking a shriveled pumpkin in water can bring it back to life. Spray-on preservers are also sold in some stores.
• To photograph your carved, lit pumpkin, do it around dusk and don’t use the flash.
Information from www.pumpkin-carving.com.


